Carrying straight on from the battle set up in my last blog entry, we move onto the battle itself.
The Yorkist forces advance toward the village.
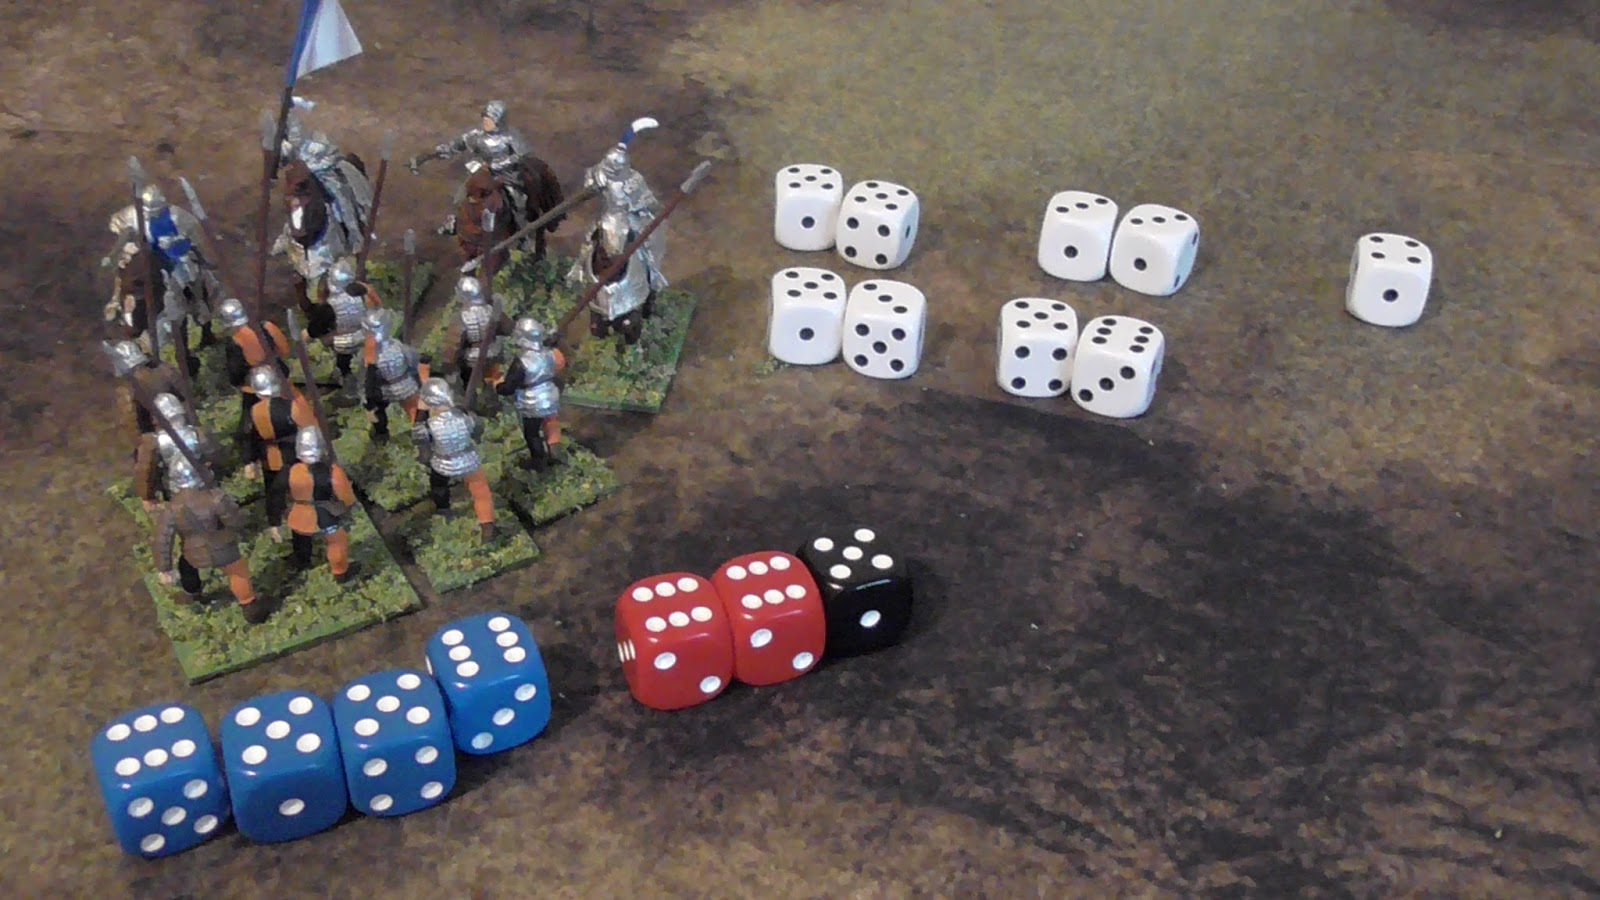
The Lancastrians form up for the coming battle.
In the opening Yorkist move the archers and Bill men to the South of the road, successfully activate and move forward.
They cannot move and shoot but as can be seen by the measure, it has brought the enemy within long range of their bows. (18 inches)
In the North side of the road, the archers failed their activation and so the Yorkist turn ended. (I have put a white marker on the arrow to show a failed activation)
The Lancastrians fared much better with all except the mounted men at arms, successfully activating and moving forward.
The Lancastrian commander embarrassingly failed his initiative and so the turn ended.
The archers on the South side of the road took aim at the foot knights, now only 12 inches away.
Scoring eight hits, which equated to two casualties. I put a red marker on to show they had taken hits and required to take a courage test, which they passed. The two casualties can be seen behind.
The Yorkist's luck ended there as the supporting Bill men failed their activation, passing the die back to the Lancastrians.
The Lancastrian crossbowmen unleashed a volley of bolts at the archers!
Scoring four hits, enough to cause two casualties.
The unlucky bowmen.
Once again the Lancastrians passed all their initiative rolls and much to the consternation of the Yorkists pressed forward.
On the Yorkist turn, the archers once again released at the foot knights and caused a further casualty, reducing the unit to half strength, but again they passed the courage test.
The archers on the North side unleashed onto the advancing Bill men, they managed to cause a one casualty.
The luckless casualty is temporarily placed behind for later removal.
For the first time the Yorkists had success with activation rolls and all selected units passed and moved forward.
The Yorkist light cavalry, bravely or foolishly advance on the mounted men at arms.
This shot show how close the troops are getting, this of course will favour the Lancastrians with the stronger foot troops.
The crossbowmen, once again poured bolts into the archers causing two casualties.
For the first time in the game, the Lancastrians suffered a failed movement order on the first unit of Bill men, so ending their turn.
The field as it stands currently. The forces are coming together and blood is flowing.
However at this point my camera battery died, I was itching to continue, but as I wanted to share the whole battle with you, the reader, I took a break and will continue tomorrow so you won't miss anything. Of course you will have no idea of the time as this post will be saved and continued without a break as far as you are concerned!
On the Yorkist turn, the archers once again fired a volley of arrows at the foot knights.
Causing another casualty, however they passed their courage test and remain a viable unit.
Then it was the Bill men facing arrows.
Another casualty and once again this unit too passed its courage test.
The spear men were going to charge into the other unit of Bill men, however as the white marker on the arrow shows, they failed their movement test, so the turn pass back to the Lancastrians.
The crossbowmen took aim at the archers and bolts flew through the air.
Two archers fell.
More importantly, the archers failed their courage test and received a battered marker and had to retreat half their movement distance.
The tape shows six inches but I corrected it to three inches.
The Bill men now attempted to charge the spear men, but failed the movement order.
The Yorkist move was incredibly short, the unit that was battered failed to remove its marker and the spear men once again failed their movement roll!
However the Lancastrians passed and charged into the spear men.
The Lancastrians rolled only one hit as compared to the Yorkists five! They had to retreat with two casualties, having failed to inflict any themselves.
The weakened foot knights advanced but the crossbowmen failed their movement order.
The archers attempted to rally but failed and so another figure was removed, they cannot fire, unless attacked in this condition, so the enemy foot knights are spared a storm of arrows.
The Yorkist spear men charged.
But were repulsed with one casualty and failed to score on the enemy.
Once more arrows flew at the Bill men.
Another unfortunate bit the dust.
The Yorkist spear men moved onto the flank of the archers to give some protection and at the same time the Yorkist light cavalry charged the mounted men at arms.
This could get messy!
The light cavalry were driven back losing one casualty without damaging the mounted knights.
He's off for an early bath.
In the centre the Yorkist commander and his knights move forward and come within range of the enemy crossbowmen, but more importantly are within wild charge range of the enemy Bill men to their right.
The crossbowmen unleash their bolts, but nervous at the sight of the approaching juggernauts, score only three hits, having an armour rating of four, the bolts are parried or bounce off the armoured warriors failing to cause any casualties.
Once again the Bill men to the South of the road, go charging into the spear men.
And once again they are repulsed losing two casualties and only inflicting one.
They are forced to retreat but pass their courage test as do the spear men.
The Lancastrian commander decides to sort out the enemies light cavalry and charges. The results cause two casualties on the Yorkists but they also suffer one of their own.
It is too much for the light cavalry, they badly fail their courage test and rout from the field!
The casualties are growing, Yorkists to the left with a complete unit of light cavalry, a gaggle of archers and a couple of spear men. To the right the Lancastrians have lost a mounted man at arms, four foot knights and half a dozen Bill men.
The current view of the battlefield. The Yorkists have lost one unit with another battered, whereas the Lancastrians are still fully battle worthy, the first force to lose three units loses the battle and must retire from the field.
This post is now rather lengthy, so I shall end it here and post the conclusion of the battle as a part two. My thoughts so far on 'Lion Rampant' very positive, it is fast flowing and quite easy to learn the rules, distances etc. though I do still have to check the tables from time to time.